Your marketing arsenal consists of social media profiles, business directory listings, your website, and more. Keeping these up-to-date can be a struggle. But it can also have tremendous benefits for your SEO and client communications.
When was the last time you checked to make sure your social media profiles all display the same email address? After your website made the switch from “http” to “https,” did you update the URL on your social media profiles? Are there broken links on your website that send potential clients away in frustration? If you can’t answer these questions, it’s time for a little scheduled maintenance. It’s all part of the process we call “standardize, systematize, and automate.”
You should schedule time at least twice a year to review and update your online properties, from your website to your social media profiles. Sometimes the improvements are small, like updating your “about” section to include additional types of insurance you offer. Other times, the improvements are huge – like catching an out-of-date email address or phone number.
Jump to a section:
(1) Review & Update Your Social Media Profiles
(2) Reserve Your Handle on New Social Media Networks
(3) Share Posts That Remind People Where Else to Find You
(4) Review & Update Your Business Directory Listings
(5) Clean Up Your Email List
(6) Check Your Footer Links
(7) Check Your Website for Broken Links
(8) Link to Older Posts from Newer Posts
Update 1: Review & Update Your Social Media Profiles
When was the last time you updated your Twitter bio? Or checked your Facebook page’s privacy settings? It’s important to check all your social media profiles for consistent contact information as well as complete information about your products and services.
- Review your profile and header photo(s). Do your image sizes still fit with the platform’s image dimension recommendations? Do they still present you and your business as you want to be seen? For example, are there photos of you speaking at a conference you could use to help present yourself as an expert in the field?
- Review your contact information. Is it accurate and complete?
- Check your listed operating hours, if applicable. Are they accurate and complete?
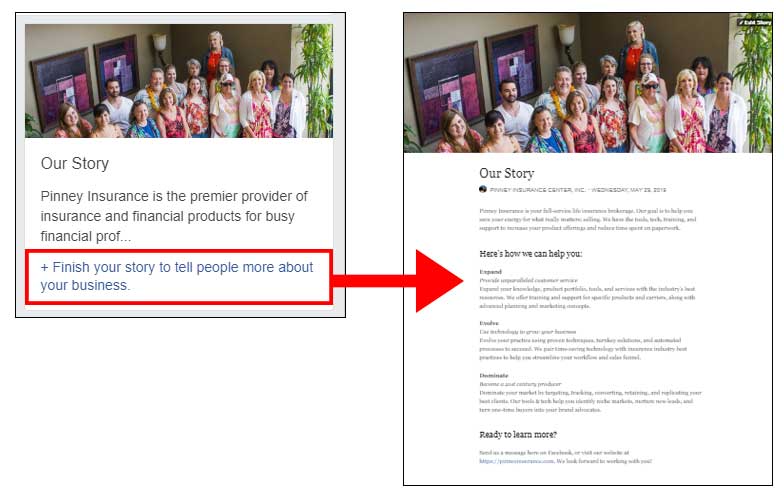
- Check your “about” or “bio” sections. Are they accurate and complete? For example, the brief “about” section for Facebook pages has become “Our Story,” a blog-like component that allows you to add more text as well as photos. This is a great place to explain who you are and how you can help clients, as well as direct them to your website and quoter.
 Here are a few more items to double-check:
- Years licensed/certified/in business, etc.
- Years in MDRT, Top of the Table, etc.
- Awards won, milestones reached, etc.
- Review any links you’ve provided. For example, did you include a link to sign up for your mailing list? If so, is that still the correct link? If you switched email marketing software platforms, that link needs to be updated. It’s easy to overlook something like this, but if you don’t make these checks periodically, you could be losing subscribers…and potential clients.
- Review privacy settings. How much information do you want to be publicly available? Who has the ability to post content to your account? Are there apps that have access to your account that need to be deleted? If you no longer use a social media aggregator, for example, be sure to protect your account by revoking its access.
Update 2: Reserve Your Handle on New Social Media Networks
When Instagram launched in 2010, you might not have thought it would become a valuable resource for your business. Now, in 2019, we know Instagram is a powerhouse for driving engagement with your audience.
As part of this review process, think about the social media networks you’re not currently using. It may be a good idea to create an account and reserve your handle. If the platform blows up and becomes huge in six months, one year, or two years, you’ll already have an account ready to go.
Another benefit of creating a profile on a new network? If you fill out your profile in detail, it’s likely that profile page will show up in the SERPs (search engine results pages). This is a good way to help ensure you control what shows up on page one of the search engine results when a prospect searches for you.
Here are some resources that list social media networks to keep an eye on in 2019:
- Make a Website Hub: "60+ Social Networking Sites You Need to Know About"
- Buffer: "21 Top Social Media Sites to Consider for Your Brand"

Update 3: Share Posts That Remind People Where Else to Find You
Have you told your followers on Facebook that you’re also on Twitter? Or YouTube? It’s a good idea to do this periodically since your followers’ network preferences may change over time.
Here’s how to do this in a non-salesy way.
Instead of making a request, turn it into a two-way dialogue. First, ask your followers if they’re also on a particular network – we’ll use YouTube for this example. Your post might say something like, “Hey – do you guys spend time on YouTube? If so, which channels do you like most? Send me your recommendations and cruise by my channel to say hello. I’m at [insert your channel name or URL here]. Looking forward to checking out your favorite channels!”
Instead of asking people to follow you on other networks, turn that request into a two-way dialogue.
When you get recommendations, be sure you actually check them out and leave a reply for the person who suggested it. The point is to demonstrate that you’re paying attention and value what your audience tells you (even if you don’t particularly enjoy the content they suggest). If they recommend something you’re not into, just leave a polite reply like, “Wow, I can see this channel gets a lot of views – thanks for the suggestion.”
Update 4: Review & Update Your Business Directory Listings
You should keep your business directory listings updated, just like you did with your social media profiles. These profiles include Google My Business, Yelp, Angie’s List, and more. Let’s run through that checklist, with a few small changes:
- Review your logo. Is this still your current logo? In your current brand colors? Does the image size still fit with the platform’s image dimension recommendations?
- Review your contact information. Is it accurate and complete?
- Check your listed operating hours. Are they accurate and complete? If you already know your office closure/holiday schedule for the year, add those blackout dates now.
- Check your “about” section. Is it accurate and complete? Double-check any numbers you included, like number of years in the business or number of years in MDRT, Top of the Table, etc.
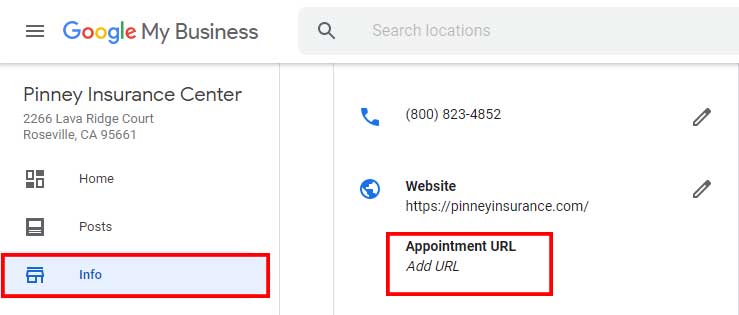
- Review new features available. For example, Google My Business now lets you accept bookings online. If you do business in person and want to let local searchers book an appointment through your Google My Business page, you can add that functionality.
- Add content where applicable. You may be able to add content that helps prospects decide to do business with you. For example, you could answer questions left by visitors on your Google My Business page. You can also upload pictures that show people what your office looks like, a good way to build trust.
Update 5: Clean Up Your Email List
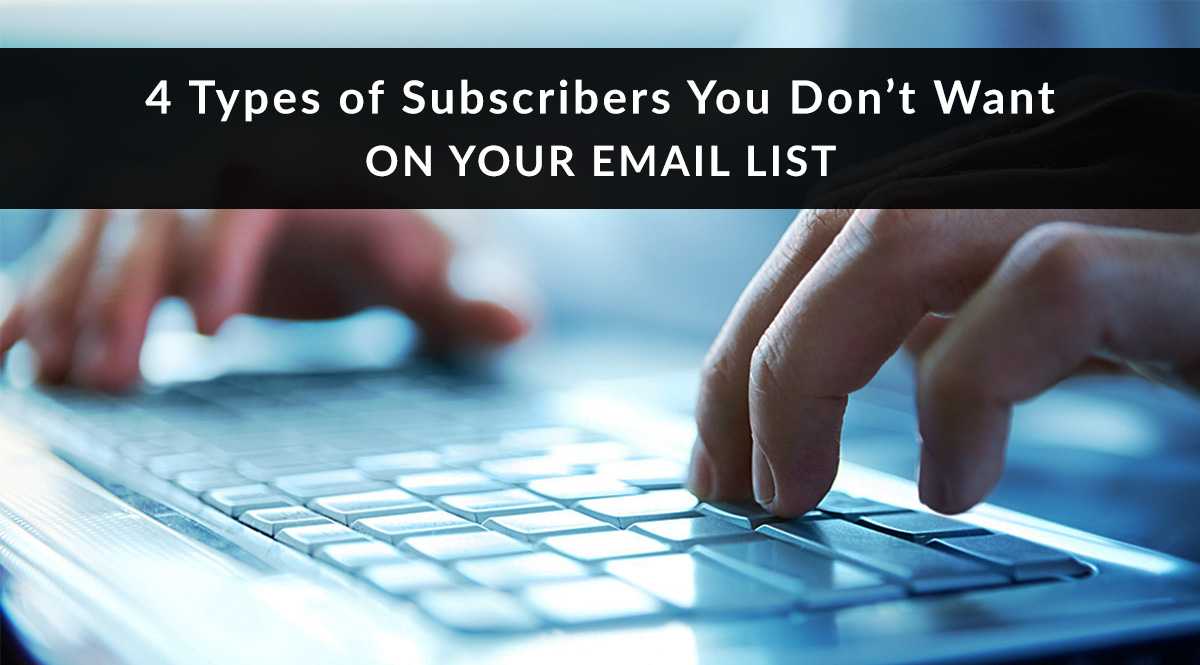
We talked about why this is important in the post titled "4 Types of Subscribers You Don't Want On Your Email List." In a nutshell, you only want to be communicating with people who actively want to hear from you and may become clients. Here’s a quick recap of the four types of subscribers you don’t want on your email list:
- Inactive. The best way to deal with inactive subscribers? First, set your criteria for inactivity (no opens for one year, for example). Next, use your email marketing software to sort your subscribers by that criteria. Once you have a list of inactive subscribers, send them an email asking if they still want to receive email from you. Finally, sort your recipients again to filter out the ones who didn’t open or click anything in that email. Archive these subscribers, or tag them with something like “inactive” so you can exclude them from future mailings.
- Invalid. These folks aren’t responding to you because they provided you with an invalid email address. It’s not always intentional, so it never hurts to glance at your inactive list as well as your bounce list (provided by your email marketing software). Are there simple typos you can correct manually? If so, correct them (i.e., your prospect typed “yaho” instead of “yahoo”). If not, remove them from your list.
- Duplicates. It’s easy to end up with duplicates in your list if you offer multiple sign-up incentives like free PDFs or checklists. To remove duplicates, you can use your email marketing software or Excel to sort alphabetically and remove duplicates.
- Competitors. There’s nothing wrong with having competitors on your mailing list. Except for the fact that you’re paying to email them…and they’re never going to buy a product from you. Scan your email list periodically and look for familiar agency names, then decide whether you want to remove them.
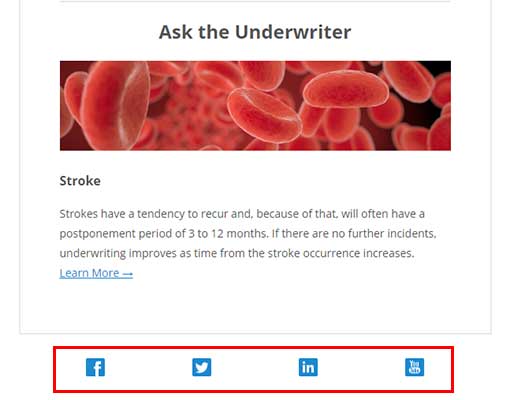
Want to revisit that post for more detail? Click or tap the image below.
Update 6: Check Your Footer Links
Do you include links for your website and social media profiles in the footer of your email template? We do, and you should, too. It’s just one more way you can make it easy for consumers to find you and interact with you in the way they prefer.
But the flipside of that perk is that you have to make sure those links get updated when necessary. For example, Google+ shut down in April 2019. Does your email footer still have a link to your Google+ page?
This step applies to your website, too. Are all your footer links still correct?
Update 7: Check Your Website for Broken Links
If your website or blog has been active for several years, chances are it has a few broken links. These might be links to pages on your site that have been renamed or deleted, or they might be links to external sources that have been renamed or deleted. These links are bad for user experience, which means they’re also bad for SEO. It’s worth taking the time to run a broken link checker on your site periodically to make sure your site visitors get the information they need without the frustration of seeing a 404 page when they click a link you provided.
So how do you do this?
It’s easy. There are plenty of free and paid tools to help you. Here are your best bets:
- Free: Online Broken Link Checker. This free tool will scan your website and present you with a list of broken links to fix. If your website has more than 3,000 pages, you may want to upgrade to the paid version for a complete site scan.

- WordPress Plugin: Broken Link Checker. This plugin will scan your site’s images and links to find the ones that are broken. You’ll see notifications in your WordPress dashboard telling you what you need to fix.
- Paid: Ahrefs Broken Link Checker. This tool costs $7 for a 7-day trial (as of this writing), but it’s the gold standard in the SEO industry.
Update 8: Link to Older Posts from Newer Posts
This is the most time-consuming step in the process, but it can really improve your prospect’s experience on your website or blog. The idea here is twofold:
- Make it easier for site visitors to find more content on the same subject
- Improve your SEO
You can achieve both when you do an audit to find posts and pages that should link to each other.
Why It’s Good for SEO
Internal links connect related pages on your site. They’re the opposite of external links, which send users to pages on domains you don’t control. Google uses internal links to index new pages on your site as well as figure out what those pages are about. Also, if a high-ranking page links to a lower-ranking page, the high-ranking page will confer some of its authority on the lower-ranking page. The better your internal linking strategy, the easier it is for Google (and your site visitors) to jump from page to page on your site to find more related content.
Google uses internal links to index new pages on your site as well as figure out what those pages are about.
So How Do I Know What to Link?
Good question - and that's what makes this the most time-consuming of these eight updates. The best way to do this is manually – you know your content best, as well as what other resources you’ve prepared on that topic.
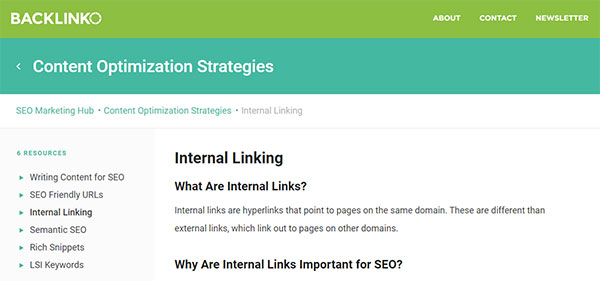
There are automated alternatives, but linking expert Brian Dean of Backlinko doesn’t recommend automation in this case. To read more about why, check out his guide to internal links.
The best way to get a handle on this is to make a quick list of the big topics your site covers: types of life insurance, underwriting/application/process questions, financial planning, etc. Next, use a site-specific Google search to see where on your site you mention those topics (format your search query like this: site:yourdomain.com “search phrase here”). Finally, scan the results and see where it makes sense to link to other pages with related content.
For example, on this blog, we talk a lot about email marketing. If we searched for all the pages on our site that mention email marketing in a non-comprehensive context, we could then link those mentions to our most relevant supporting content, like our series on why life insurance agents need an email list (and how to use it).
That’s our look at 8 easy marketing and social media updates!
We hope this list inspired you to do a little maintenance with your digital and web-based assets. Where else should we all be doing digital housekeeping? Tell us in the comments!