
If you’re like many agents, your book of business is scattered across several locations: your email, your social media, and the apps you’ve submitted to carriers or BGAs. In a previous post, we showed you how to export contacts from Outlook and Gmail. In this post, we’ll show you how to export contacts from Facebook, including your profile and your business page.
Jump to a section:
Profile: Export Your Facebook Friends
Page: Export List of People Who Like Your Facebook Page
Contacts: Look up Email Addresses on Facebook
Your Profile: Export Facebook Friends
Facebook offers an easy way to export your data – this includes not only your friends, but your photos, videos, and the text of your posts. The first step is to download your Facebook archive.
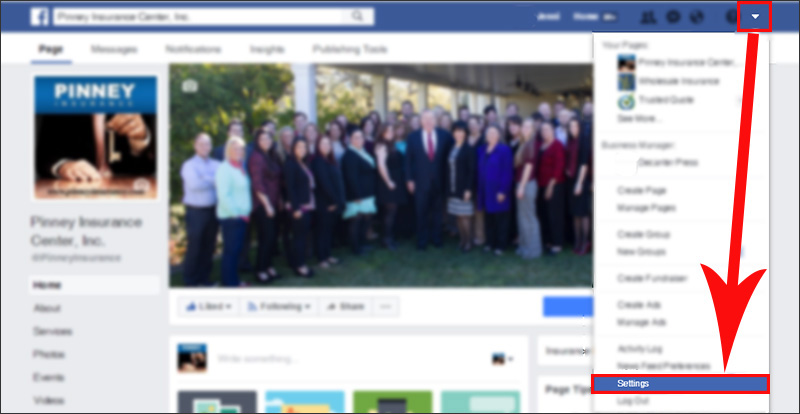
First, log into your Facebook account. Click the arrow in your top menu and choose Settings.
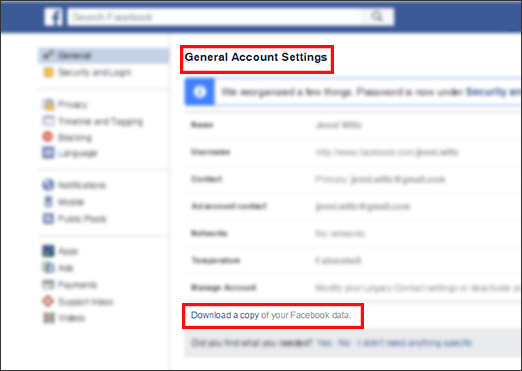
From the General Account Settings page, click Download a copy of your Facebook data. Facebook will provide a zip file that contains your friend list, the content of your posts, and more. Here’s a complete list of the data Facebook will include.
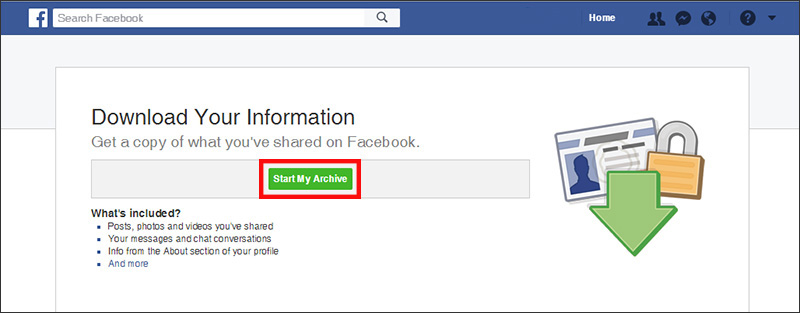
From the Download Your Information screen, click Start My Archive. Facebook will then prompt you to re-enter your password.
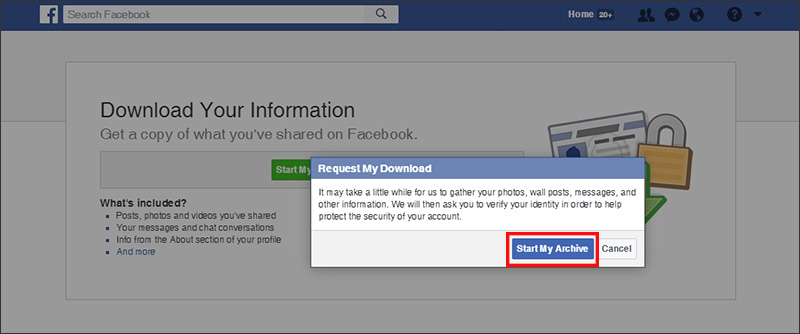
Next, Facebook will ask you to verify that you want to start your archive. Click Start My Archive. Facebook will send a message to the primary email address on your account when the download is ready.
Now it's time to check your email. Depending on the size of your archive, it may take a few minutes to generate. Ours took less than 5 minutes. Click the link provided in Facebook's email, which will take you back to Facebook.
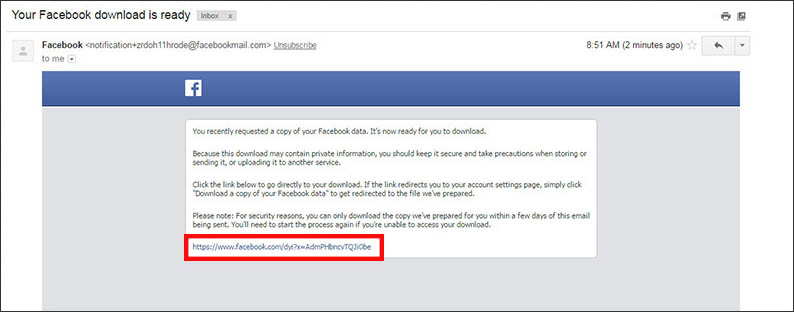
On the Download Your Information screen, click the green Download Archive button and re-enter your password when prompted to begin your download. Look for a zip file titled "facebook-yourname.zip" in the corner of your browser. You can also find it in your Downloads folder.
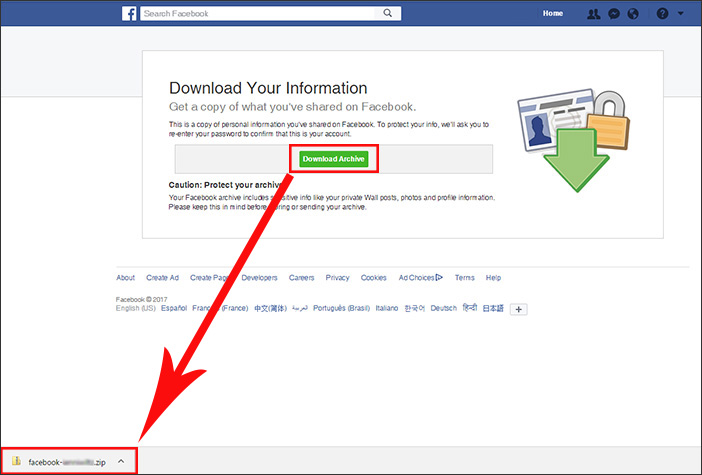
Extract Data from Your Archive
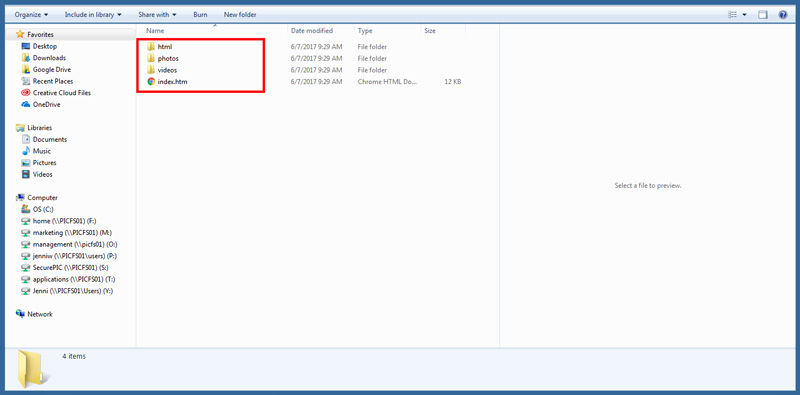
Now, let's get your friends (contacts) out of that zip file. Your browser may let you open it with one click. If you’re retrieving it from your Downloads folder, right-click the folder and select Extract All. Once it's extracted, you’ll see three folders and an index.htm file. Your contacts are in the html folder.
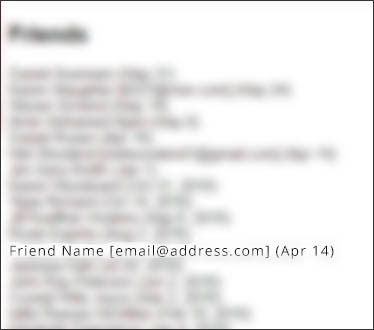
Double-click to open the html folder. Look for the file named friends.htm. Double-click this file to open it in a web browser - you’ll see your complete friend list. If a friend’s security settings allow their email address to be shared, you’ll have that, too. Be prepared for many of the email fields to be blank. We’ll show you how to look these up below, but you may also need to cross-reference these contacts with other sources (such as your email provider or the apps submitted to carriers or BGAs) to get their email addresses. Here's what it looks like when a friend allows Facebook to share their email address:
Now our goal is to get this list of contacts into an Excel file. From there, you can cut and paste the email addresses into a separate column and back-fill any missing addresses. If you started an Excel file based on the advice in our first post (exporting from email), add these names to that spreadsheet instead of starting a second one.
There are two ways to get the .htm file’s content into Excel. Choose the method that works best for you:
- Rename the “friends.htm” file as “friends.xls” and open in Excel. Reformat, copy, and paste as needed.
- Double-click the .htm file to open in a browser. Copy and paste the list of names and email addresses into a new blank Excel workbook. Reformat, copy, and paste into your master spreadsheet.
Facebook Page: Export a List of People Who Like Your Page
Facebook can show you a list of people who like your business’s page – if, that is, those people allow Facebook to display this information about them. There’s no easy way to “export” this data, unfortunately. We'll have to do it with some good old-fashioned cutting and pasting.
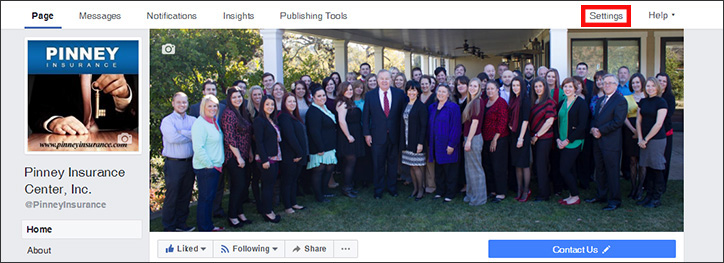
At the top of your Facebook page (not your personal profile), click Settings.
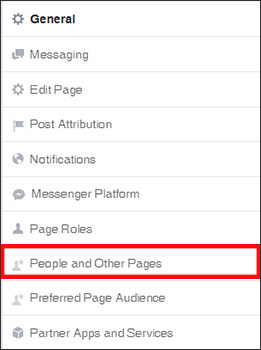
From the left-hand column of options, click People and Other Pages.
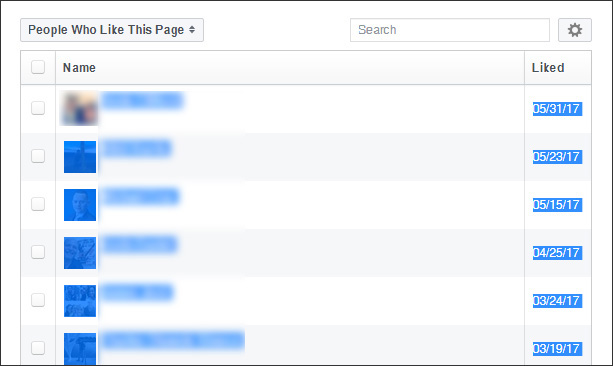
You’ll see a list of the people who like your page – and who allow Facebook to display that data. The bad news? There’s no export button, so we’re going to copy and paste into Excel. Put your cursor above the first name in your list. Hold down your mouse button and drag to the bottom of the list, highlighting each person’s profile photo, name, and liked date. Don’t worry – we’ll delete unneeded info later.
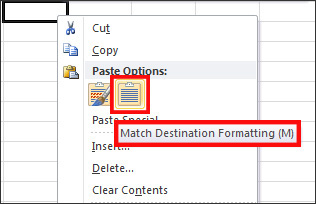
With these selections highlighted, right-click and select Copy or use the keyboard shortcut ctrl + v. Open a new blank Excel workbook. Click in the first cell (A1), and right click. Look for the Paste Options. Click the clipboard with blue lines (Match Destination Formatting). This will make sure only text is pasted, leaving behind the profile photos and formatting from Facebook.
Next, let's reformat the data before transferring it to our master Excel contact list. Widen the columns to make sure you can see all the data. Double-click the right-hand border of a column's heading to expand it. In our case, we're going to delete the date a contact liked our page. Once the data is formatted to your satisfaction, cut and paste the names into your master Excel contact list.
Facebook Contacts: Look up Missing Email Addresses
Quite a few of the names you’ve gathered from Facebook are probably missing email addresses. You can try looking up their email addresses inside Facebook. If they've chosen to share their address, you can copy and paste it into your spreadsheet.
A Note on Compliance
Keep in mind that just because someone is your Facebook friend doesn’t mean they want any marketing from you. They have not opted into your email list, and sending them a marketing email may violate the CAN-SPAM Act. If you’re including the email address for filing purposes only (and not for marketing), you’ll be fine.
If you’re able to gather an email and do want to use it for marketing purposes, we recommend sending them a quick note via Facebook messenger first. Remind them how they know you, and ask if they’d like to stay updated through your mailing list. The message only needs to be a few sentences long – feel free to use the sample below:
Hi! We’ve been Facebook friends for awhile now, and I’m reaching out to ask if you’re interested in joining my mailing list. A lot of my friends and clients ask me for insurance and financial advice, so I’m answering questions and giving that advice via email. Can I include you?
If they reply and say yes, that counts as an opt-in, and you can safely add them to your mailing list.
Search for Email Addresses
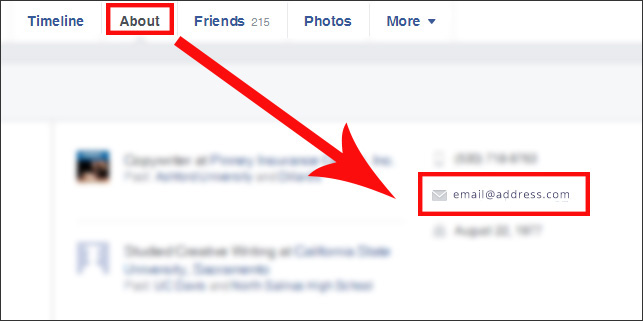
To search for any Facebook user’s email address, go to their profile and click the About tab. If they’ve listed an email or phone number, it will be here:
That's how to export contacts from Facebook!
We'll continue this series in a future post. We'll show you how to export contacts from LinkedIn and Twitter, as well as gather info from apps submitted to carriers and BGAs. Stay tuned!
